Undoubtedly, a meat slicer is a mandatory appliance for every home, restaurant, and eateries kitchen whose demand for sliced meat is more extra than forgiving. Likewise, this essential tool is standard in-home kitchens and parties. It is for cutting, chopping, and slicing meats with consistent shapes and sizes and encourages you to prepare your food with the best flawless sliced meat in taste and flavor and well embellished for being seized by others eyeballs but can’t be sure to afford or handle the exactness and bulk of a meat slicer.
So, similar to any other slicing and cutting tool, the tool gets rough and wouldn’t be able to make accurate cuts anymore. Therefore, the blade should sharpen with extreme caution because it may have any sharp edge that would injure the user during cutting. So, let’s explore the fundamental rules to know how to sharpen the meat slicer.
Contents
- The Need for Sharpening the Meat Slicer Blades
- Method of Sharpening a Meat Slicer Blade By Hand
- Things required to sharpen a Meat Slicer
- Step No 1: Selecting a Whetstone (Sharpening stone)
- Step No 2: Cleaning the blade with Liquid
- Steps No 3: Placing the stone on the meat slicer properly
- Steps No 4: Dismounting the stone
- Steps No 5: Oiling the blade and its edges
- How To Check Sharpness of a Blade?
- Steps No 6: Removing/dismounting the sharpening stone
- Steps No 7: Cleaning the blade
- Steps No 8: Sterilizing the blade
- Method of sharpening a meat slicer blade by an in-built sharpener
- Final Words about Meat Slicer Sharpening Methods
The Need for Sharpening the Meat Slicer Blades
First and foremost, this is necessary to understand when the blades need to be sharpened. For example, when your meat slicer begins creating a hodgepodge of your meat when you use it for slicing or cutting, it is the right time to sharpen the blades.
Furthermore, when the appliance stops providing the exact cut of your meat, the blades become rough and dull, making the meat shredding when you slice it, then you must go for sharpening the blades from top to bottom.
Method of Sharpening a Meat Slicer Blade By Hand
If you want to purchase a meat slicer in your required budget, you are probably thinking of buying the basic one that doesn’t include a built-in sharp blade sharpener. Not so expensive; However, you can undoubtedly, experience the complete advantages of a razor-sharp bladed meat slicer for jerky and you could be capable of sharpening the blade by hand.
You may get worried thinking if you did it right and couldn’t satisfy yourself? So, here we have gathered a method to know how you should sharpen a blade of meat slicer by hand.
Things required to sharpen a Meat Slicer
- A whetstone
- Liquid (water)
- Non-abrasive soap/detergent material
- Sharpening oil (mineral oil can do)
- Isopropyl rubbing alcohol (or detergent diluted in water)
Step No 1: Selecting a Whetstone (Sharpening stone)
It is a piece of authentic information that even without a built-in sharp-bladed sharpener, many companies comprise a sharpening stone in the product’s package. So, If your package came with a sharpening stone, it’s time to utilize it.
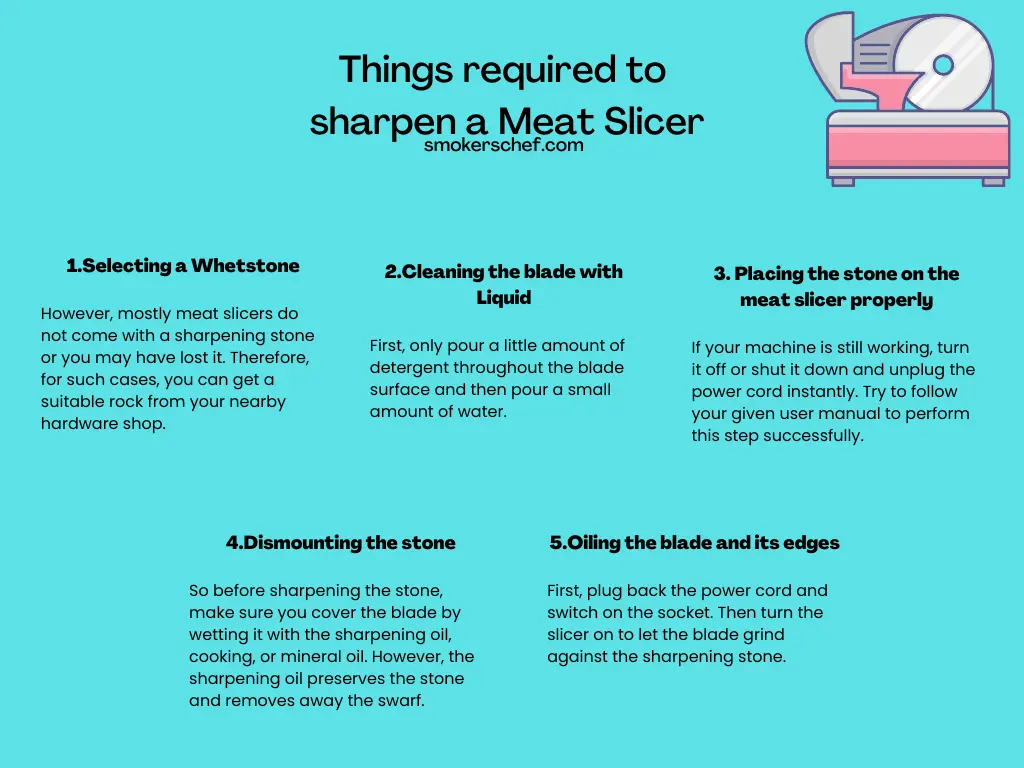
However, mostly meat slicers do not come with a sharpening stone or you may have lost it. Therefore, for such cases, you can get a suitable rock from your nearby hardware shop.
Step No 2: Cleaning the blade with Liquid
People sometimes ignore this step while it is necessary to know that you should perfectly clean the blade before sharpening. First, only pour a little amount of detergent throughout the blade surface and then pour a small amount of water.
Rub until all stains vanish and rinse the blade thoroughly all over the surface. You’ll finally know that you’ve done a fine job if you can see your face reflection on the blade’s metallic surface.
Steps No 3: Placing the stone on the meat slicer properly
If your machine is still working, turn it off or shut it down and unplug the power cord instantly. Try to follow your given user manual to perform this step successfully. You’ll surely know how to set the stone on the slicer and secure it in place.
Steps No 4: Dismounting the stone
So before sharpening the stone, make sure you cover the blade by wetting it with the sharpening oil, cooking, or mineral oil. However, the sharpening oil preserves the stone and removes away the swarf. Using oil would be a benefit too because it helps in enhancing the formation of a sharp edge of blade, for neater and accurate slices of meat.
Steps No 5: Oiling the blade and its edges
After determining that every single thing is properly set and all previous rules have been followed accurately, it’s time for the actual job. First, plug back the power cord and switch on the socket. Then turn the slicer on to let the blade grind against the sharpening stone.
Next, stop the meat slicer after 30 to 40 seconds and after about 4 seconds, turn on the slicer again for another 30 seconds. Try to repeat this method a third time and check the blade for its sharpness.
How To Check Sharpness of a Blade?
So, to checking the blade’s sharpness, for instance, only place a tomato or any other vegetable on the cutting board and apply a light force on the tomato against the blade. If the blade happens to struggle to slice the tomato, try to tear through the meat instead of slicing it.
Repeat this sharpening method unless the blade is perfectly sharpened to use. But, if you’re using an individual stone, keep in mind to don’t let your eyes off it anytime. The stone can pose a risk of injury or any damage to the machine if may fall off or gets knocked by the blade.
Steps No 6: Removing/dismounting the sharpening stone
When you are satisfied if the blade has been sharpened enough, so, it’s time to leave the slicer’s running space free. Even when user manuals have various methods for this, dismounting the stone will mostly involve unscrewing and extracting the knob and sliding the stone off from the blade. Then screw back the knob into position and store the sharpening stone accurately.
Steps No 7: Cleaning the blade
Keep in mind to never forget cleaning after a sharpening operation. Although the slicer blade was cleaned before sharpening in step no 2. However, it is possible for the blade that it can get dust-ridden from the stone’s abrasive sand particles and the metal chipping from it. Now pour detergent on the blade and cover it with responsibility. Then rinse thoroughly, with water.
Steps No 8: Sterilizing the blade
To stop germs from transferring to your sharp slicer blade after all the process, you’ll need to sterilize it. So, pour isopropyl alcohol on the blade as required, just sufficient to cover the blade surface. Now, let the blade dry at room temperature and put back the blade cover to save it.
Method of sharpening a meat slicer blade by an in-built sharpener
This method happens to be a more comfortable and suitable method of sharpening a blade. Therefore, simply obey these directions and your meat slicer’s blade will be as effective as a fresh one.
Step No 1: Cleaning the blade
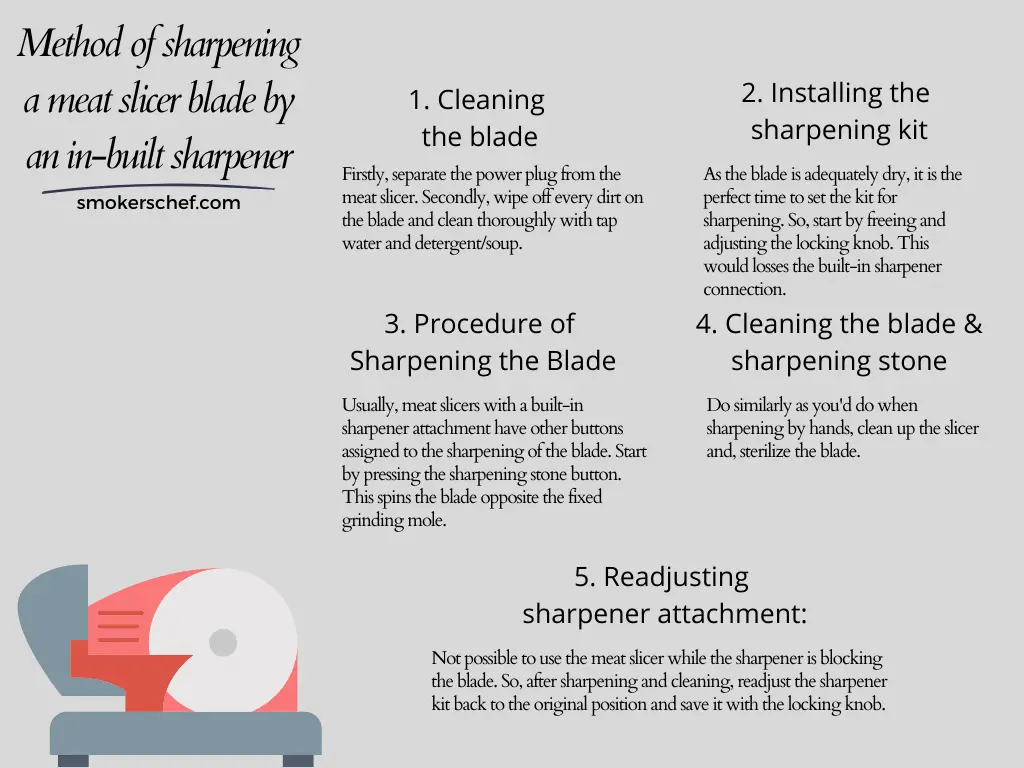
Firstly, separate the power plug from the meat slicer. Secondly, wipe off every dirt on the blade and clean thoroughly with tap water and detergent/soup.
Steps No 2: Installing the sharpening kit
As the blade is adequately dry, it is the perfect time to set the kit for sharpening. So, start by freeing and adjusting the locking knob. This would losses the built-in sharpener connection. Then lift the sharpener’s attachment carefully. Rotate the attachment through at least 180° and check if the blade is centrally positioned accurately against the two stones on the sharpener attachment.
Lastly, tighten back the locking handle to lock the sharpener attachment in the spot.
Steps No 3: Procedure of Sharpening the Blade
Usually, meat slicers with a built-in sharpener attachment have other buttons assigned to the sharpening of the blade. Start by pressing the sharpening stone button. This spins the blade opposite the fixed grinding mole. Then, let the blade run for 30 seconds to make a harsh cutting edge and then end it.
Now, press the sharpening and deburring switches simultaneously for at least 4 seconds and then stop. This covers the blade by streamlining the burrs to create a sharp razor edge. Keep in mind to not press the deburring button for more than 4 seconds because it can cause twisting of the blade’s slicing edge.
Steps No 4: Cleaning the blade and the sharpening stone
Do similarly as you’d do when sharpening by hands, clean up the slicer and, sterilize the blade.
Steps No 5: Readjusting the sharpener attachment
Not possible to use the meat slicer while the sharpener is blocking the blade. So, after sharpening and cleaning, readjust the sharpener kit back to the original position and save it with the locking knob.
Final Words about Meat Slicer Sharpening Methods
Not every time everything will be in perfect condition. But yes, nothing indeed works for a lifetime. However, you can produce a long life of any machine if you place them, utilize them, and perfectly maintain them. So, protect the device, save money, and live and try these fundamental methods to sharpen your blade to have nice deli slices every time.

Hi, I am Anthony Bourdain, founder of SmokersChef. I graduated in Restaurant Management from Dallas Culinary College. I’m a single dad, chef by profession and hunter by passion. I am a die-hard foodie and expert in smooking and grilling meat. I have started SmokersChef to create a perfect gathering place for single moms and dads to get recipes and products to cook delicious food for their families.